Chicken Parmesan Weight Watchers Smart Points

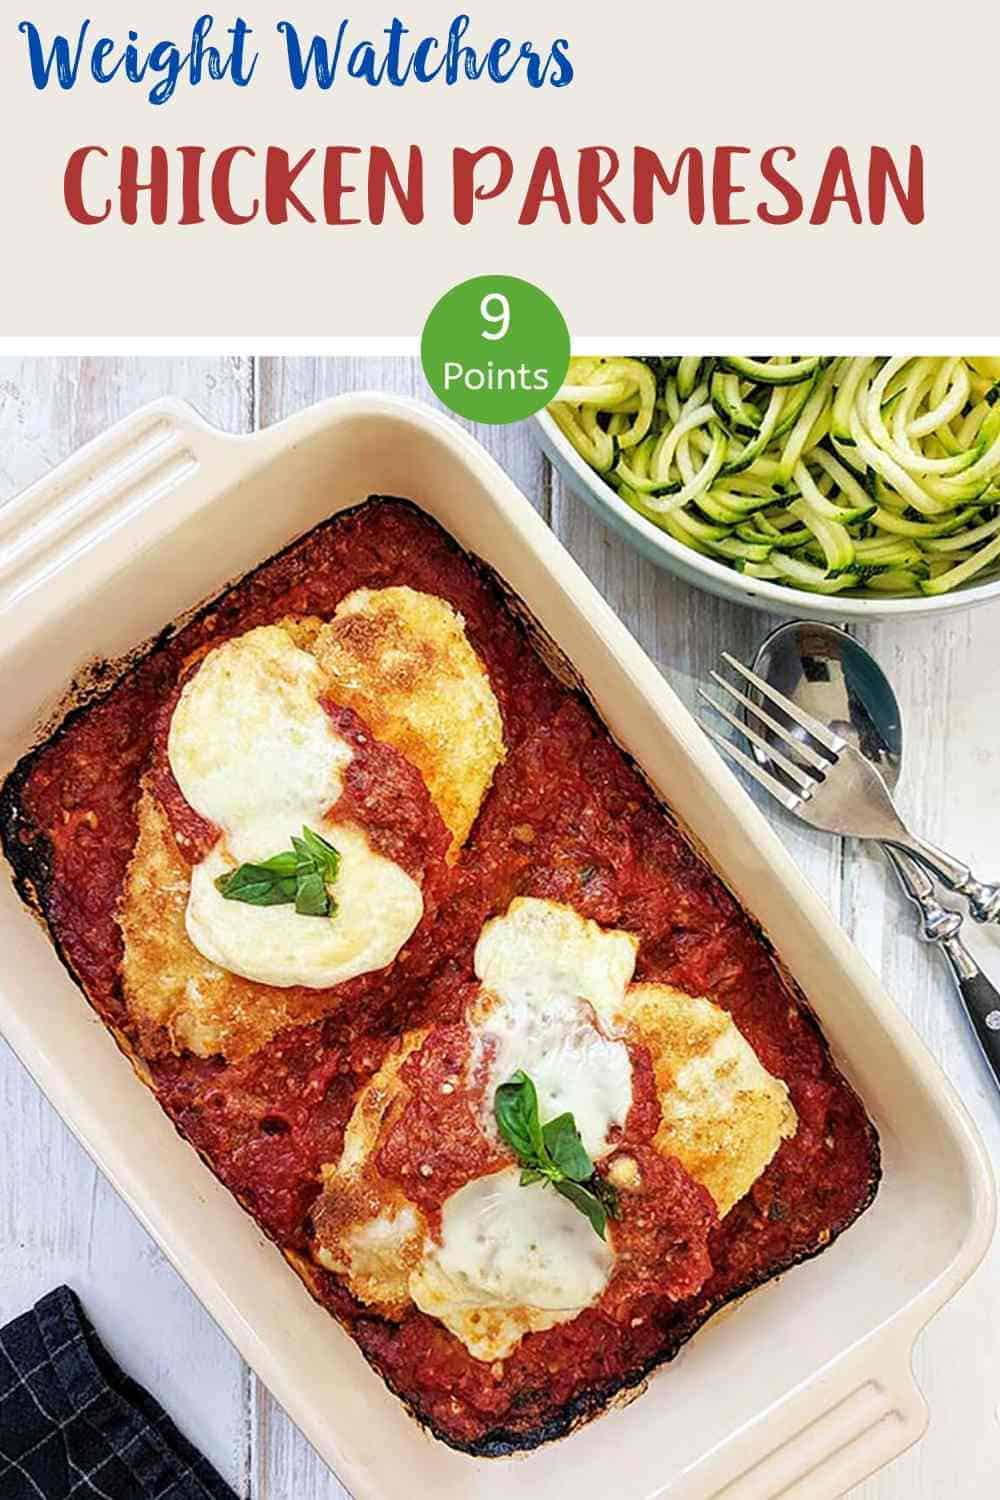
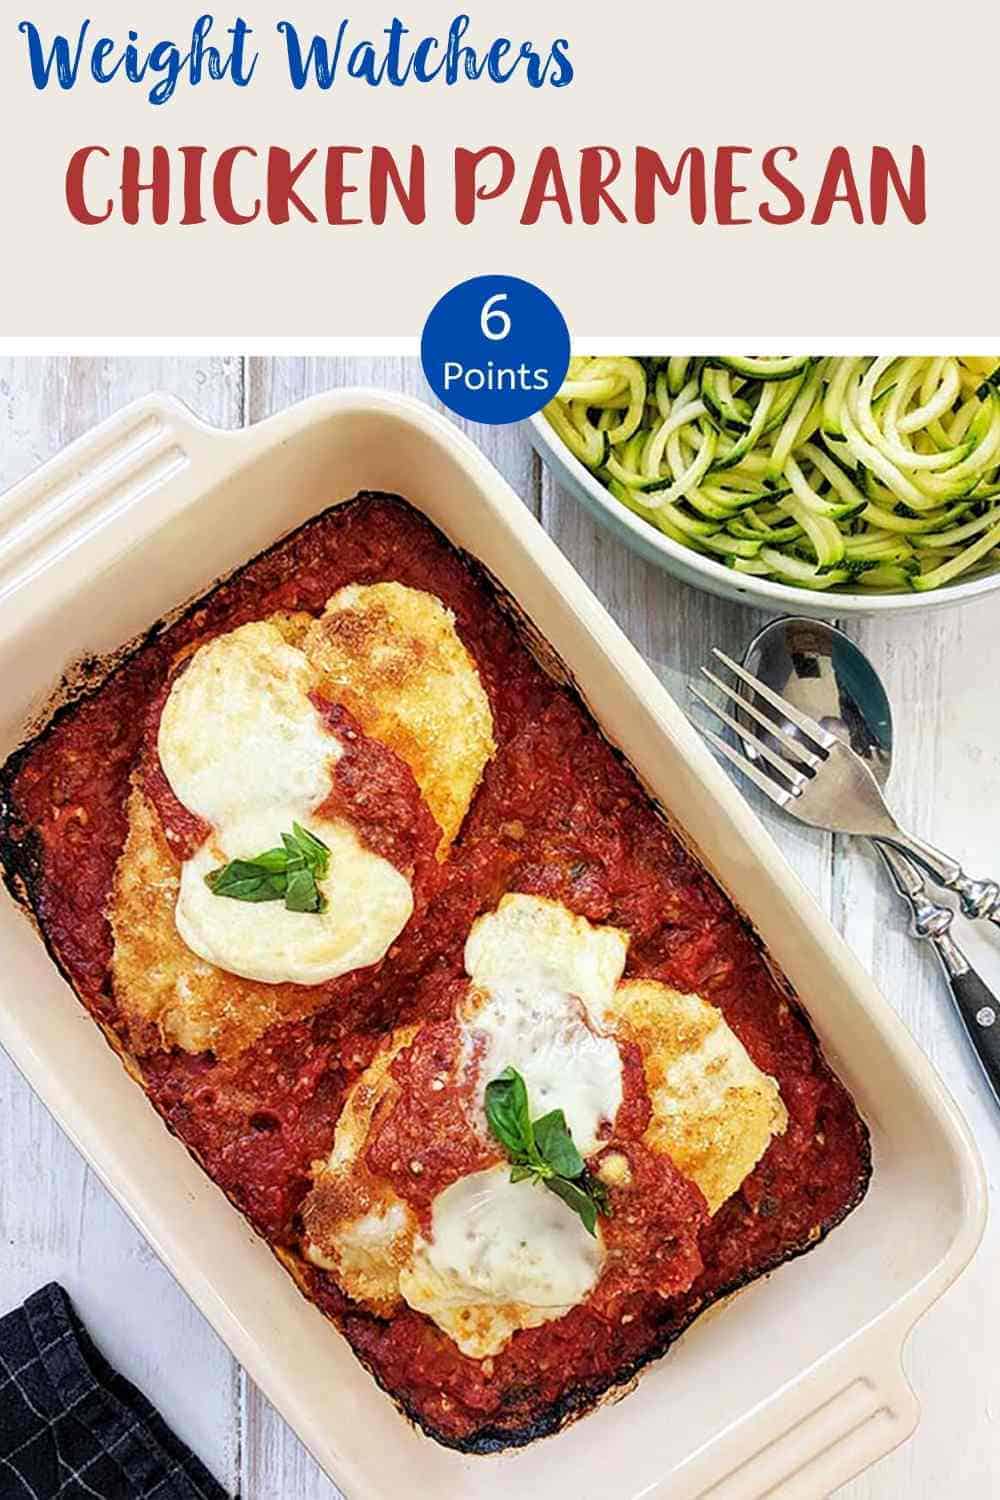

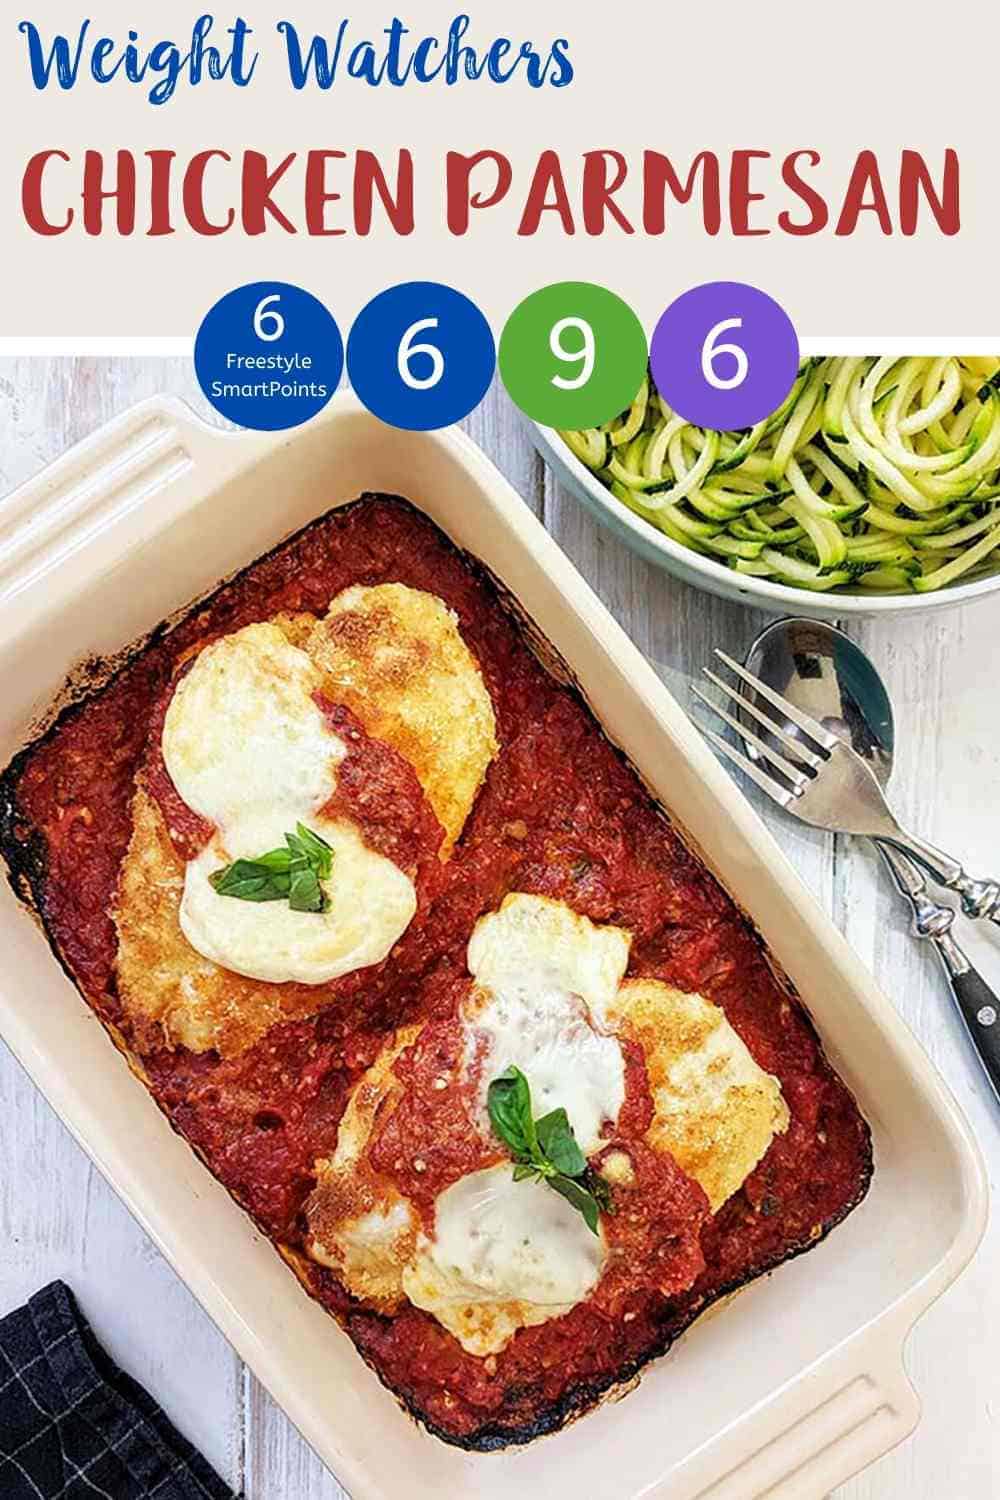
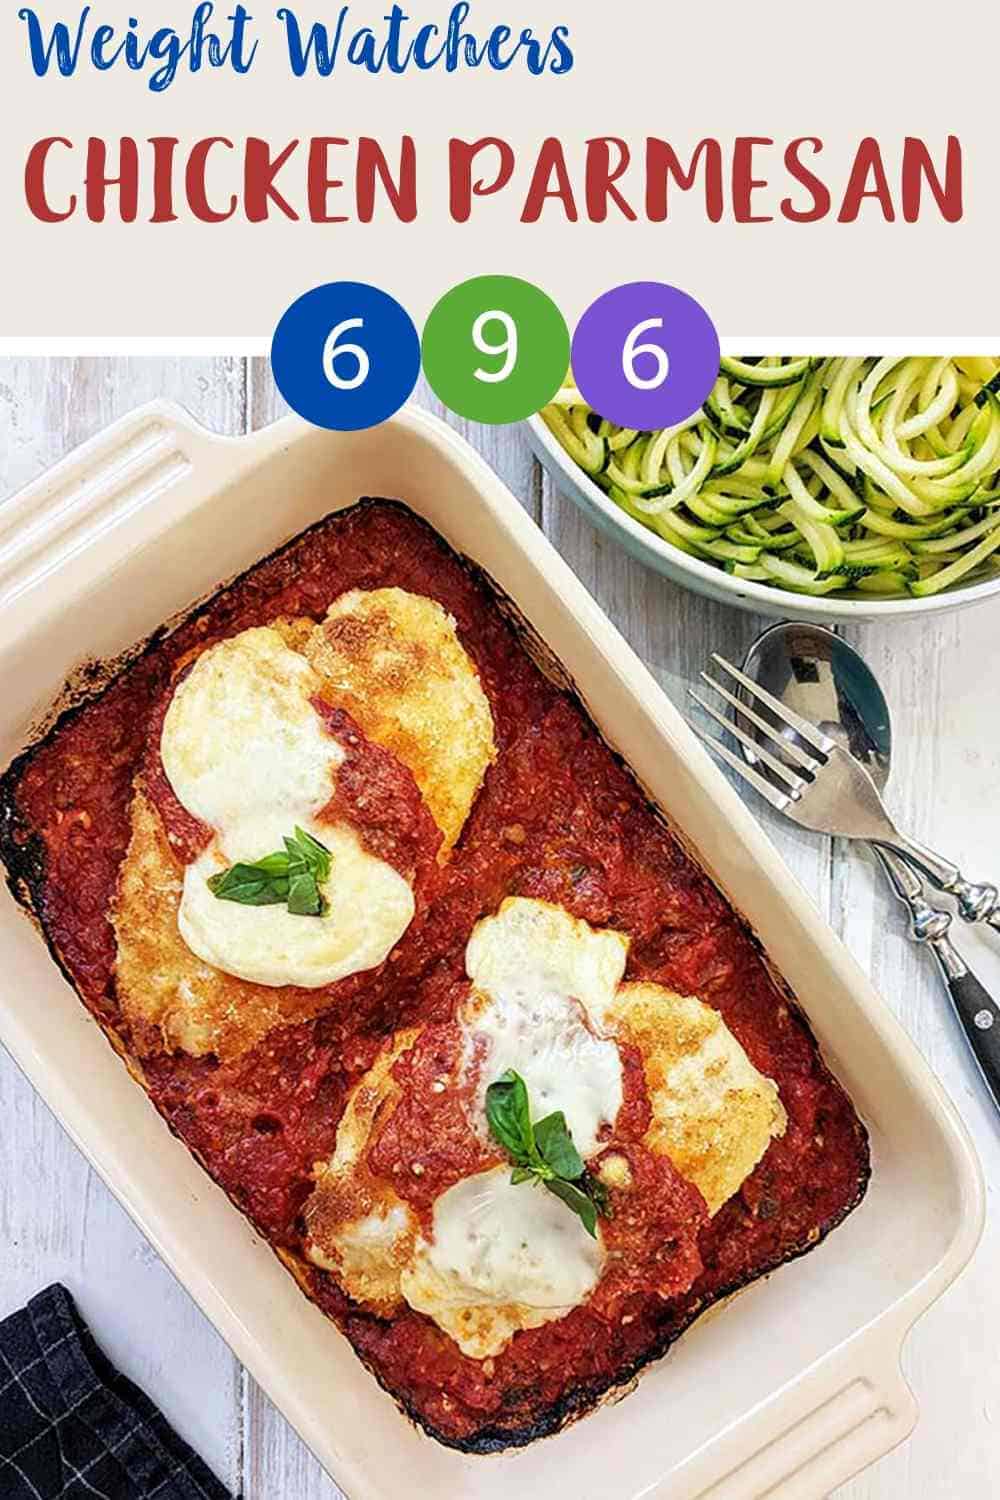


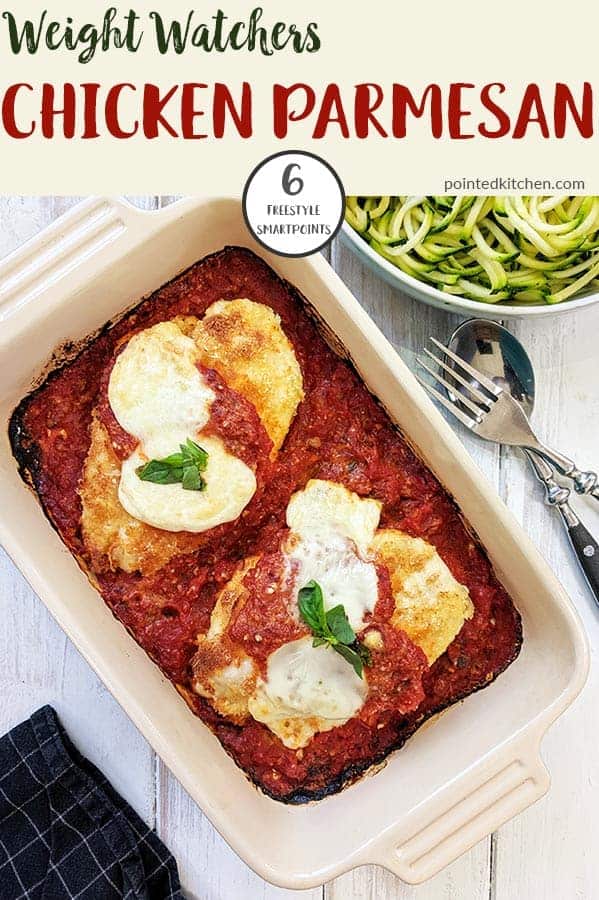

This tasty Chicken Parmesan is just 6 Smart Points per portion on Weight Watchers Blue plan, Green plan and Freestyle plan. It is 9 SmartPoints per portion on the Green plan.
If you follow the WW Personal Points plan you can find out how many Personal Points this recipe will be for you & track it in your WW App by clicking on the blue button in recipe card below!
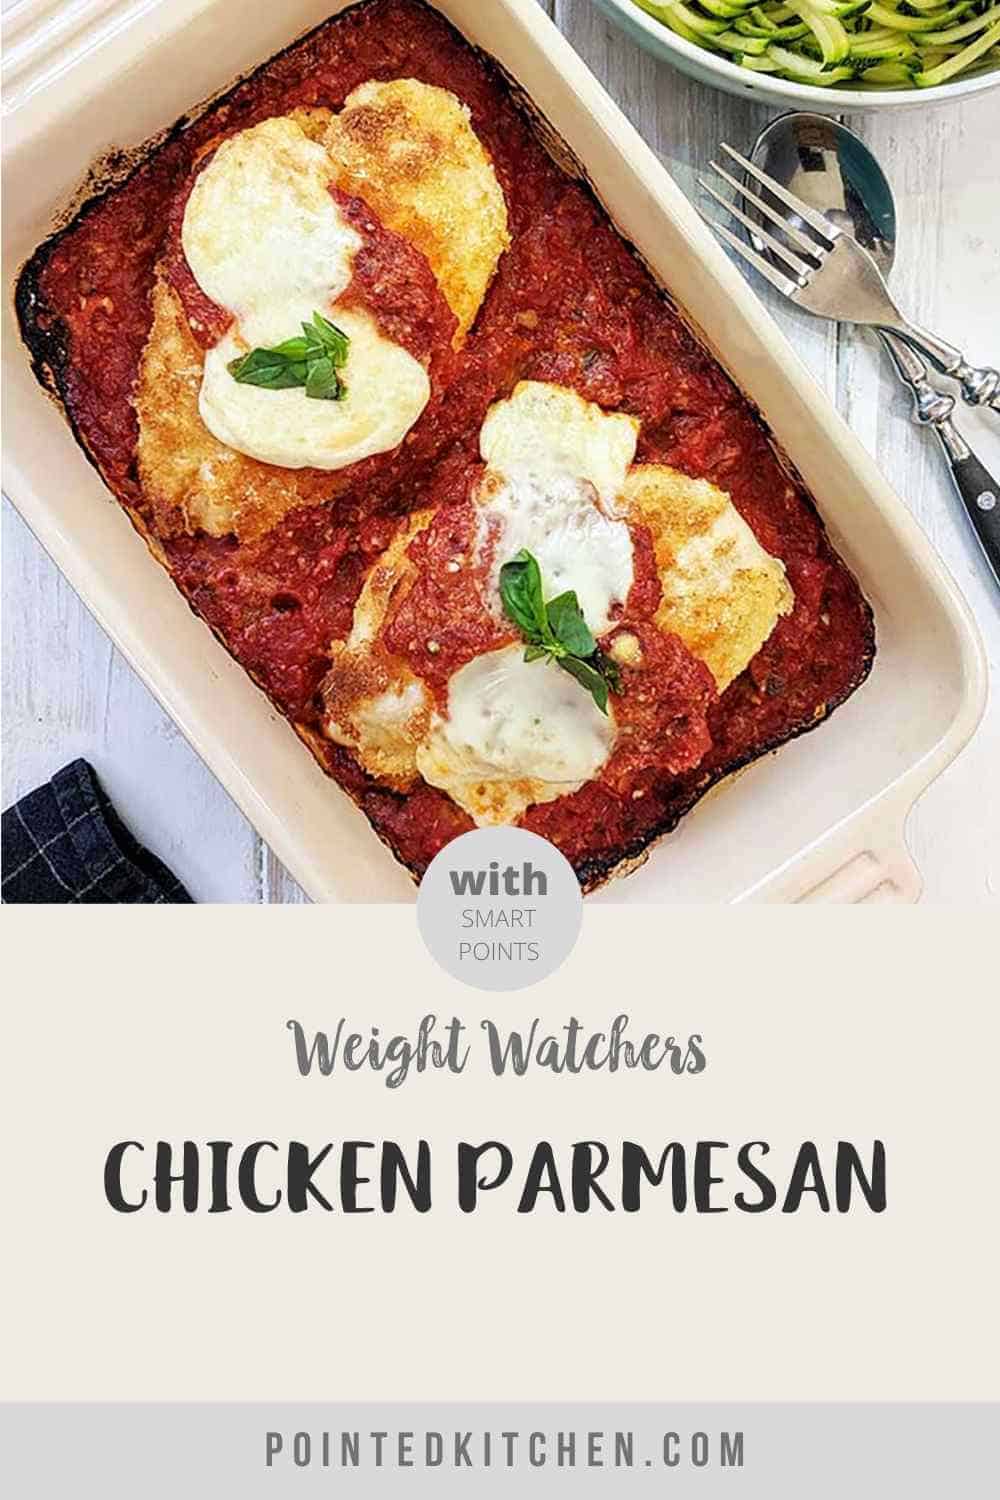
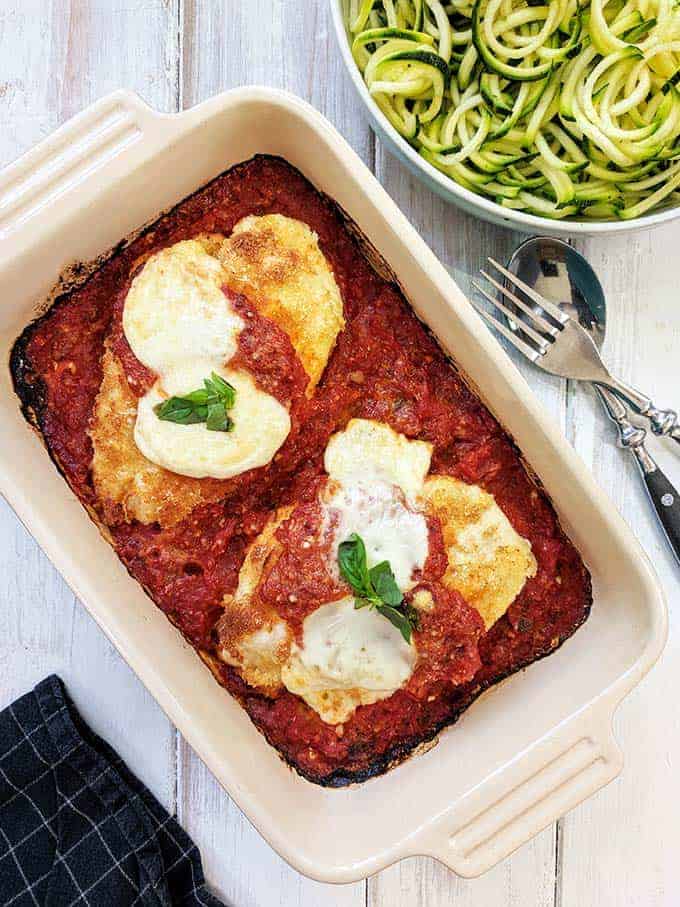
Succulent chicken breasts covered in crunchy golden breadcrumbs with a tangy tomato sauce and topped with melted golden and bubbly cheese! Yum!
This has got to be one of my favourite Weight Watchers chicken recipes! It is tasty, easy to make and can be served to your non Weight Watcher friends and family without them ever knowing you are feeding them a WW friendly dish! Result!
I've eaten this Chicken Parmesan quite a few times whilst following the Weight Watchers plan and I must say it really is one of my favourite dishes.
I toss the chicken in seasoned breadcrumbs then lightly pan fry it to seal it and to brown the breadcrumbs to a golden crispiness.
It would be possible to save Smart Points by browning the breaded chicken breasts in the oven instead of frying them.
However, I find by frying them in a little oil first, the chicken is sealed and therefore doesn't dry out when cooking later. You get a lovely succulent chicken this way!
The chicken breasts are then placed on a 'bed' of Marinara sauce (or pasta sauce or tomato sauce) and topped with cheese and baked.
What is Chicken Parmesan?
So, Chicken Parmesan is a dish that seems to have originated in the US and consists of breaded chicken breast covered in tomato sauce and topped with cheese (usually mozzarella, parmesan and provolone).
It & variations of it are also know as Chicken Parmigiana, chicken parm and in Australia as just parmy or parma!
It is sometimes served on top of pasta, or with a side salad. I tend to serve it with a side of spiralized zucchini / courgette.
What Breadcrumbs should I use?
I used 40g of fresh breadcrumbs for this recipe for a total of 2 Points.
If you use dried breadcrumbs or panko breadcrumbs you may need to alter the Point values accordingly.
What Marinara Sauce should I use?
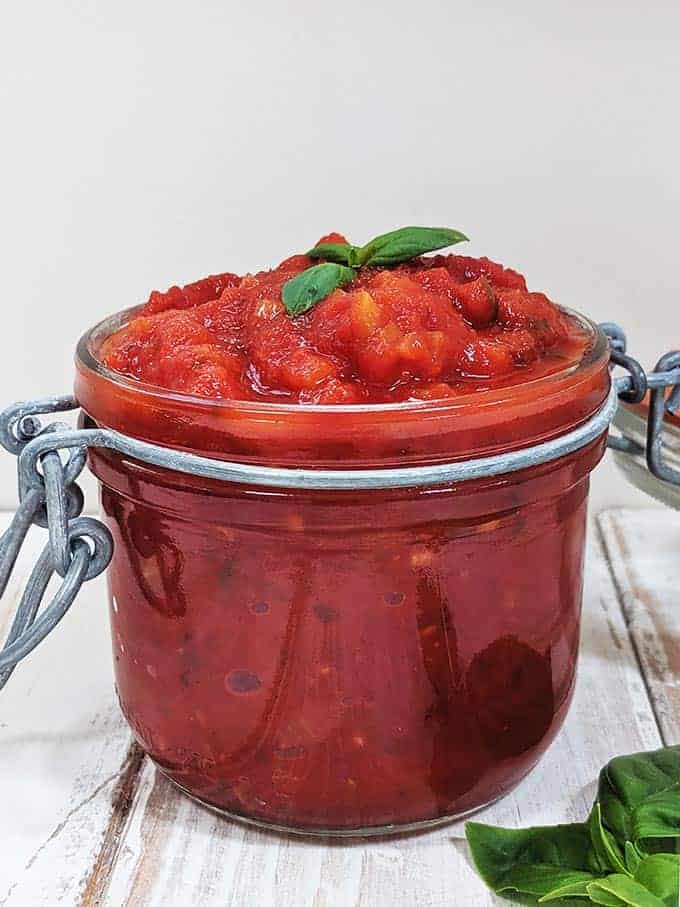
I usually use homemade marinara sauce for this dish but I have also used shop brought pasta sauce.
It's really up to you what you use!
Both are good .... but this Easy Marinara Sauce is really very good and what is more it is zero Smart Points!
If you use shop brought Marinara Sauce (or another tomato based sauce) the Smart Points for this dish may be higher. You will need to check the nutritional information for the sauce that you are using and adjust the points accordingly.
Which Cheese should I use?
I make this dish with mini babybel light but I've also made it occasionally with light mozzarella. However, as light mozzarella can be quite difficult to find, I have given you the choice! Both are good!
This post contains affiliate links. As an Amazon Associate I earn from qualifying purchases. Visit this page to see what that means.
How to prepare the parmesan chicken cutlets

- Place the chicken breasts in a freezer bag and use the smooth side of a meat mallet or a rolling pin to pound them until they are approx ½ inch thick (picture 1).
- Pounding the chicken ensures that it cooks uniformly. If you don't do this you may find that once cooked one end of the chicken is dry and tough whilst the fatter end of the chicken is still raw in the middle! You really don't want that!
- Get sorted before you begin! Place the flour on a plate and season well with salt and pepper. Mix the breadcrumbs and half of the parmesan cheese on a separate plate. Whisk the egg and pour it into a shallow dish (picture 2).
- Dip the chicken breast in the seasoned flour so that all sides are lightly coated in a thin layer of flour (picture 3).
- Shake off any excess.
- Place the floured chicken breast in the whisked egg and then turn so that both sides are covered in egg (picture 4)
- Hold the chicken breast over the bowl so that any excess egg drips back into the bowl.
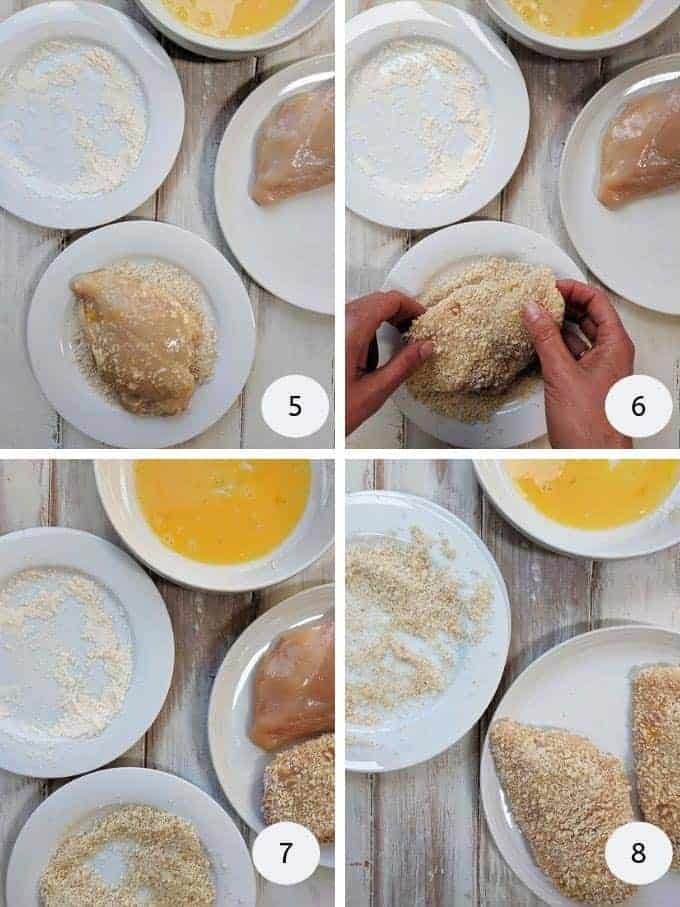
- Place on the plate of breadcrumbs (picture 5)
- Carefully turn the chicken so that all sides are covered with the breadcrumb/parmesan mixture (picture 6)
- You may have a little egg and breadcrumb mixture left over but that will depends on the size of the chicken breasts you are using (picture 8)

- Place the breaded chicken breasts on a plate and set aside for 15 minutes.
- Heat the oil in a good quality non stick frying pan / skillet. I absolutely love my Le Creuset frying pans which are available to buy from Amazon.
- Once the oil is hot, lay the breaded chicken breasts in the pan (picture 10). Cook for approximately 2 minutes without turning, until they start to brown.
- Carefully turn the chicken breasts over and cook the other side for about 2 minutes more until golden brown (picture 11).
- Remove the chicken breasts from the frying pan and place on top of the marinara sauce. Top with a little more sauce, the mini babybel (or mozzarella) and the remainder of the grated parmesan cheese (picture 12)
- Bake in a preheated oven for 15 - 20 minutes until the chicken is cooked through and the cheese has melted and turned golden brown and has started to bubble.
What goes well with Weight Watchers Chicken Parmesan
Traditionally, Chicken Parmesan is served on top of pasta. A small portion of pasta would add a further 3 or more Points to this dish (depending on your plan).
I like to serve this Chicken Parmesan with spiralized zucchini / courgette to save on Points. I use a Mueller spiralizer, like this one available from Amazon to make them.
You could also save on Points and serve this dish with a large green side salad.
You could serve it with a small portion of new potatoes and some zero point veg for a really filling, satisfying meal.
For an amazing comfort meal, serve it with some smooth mashed butternut squash!

Can this dish be Frozen
Yes it is possible to freeze this Chicken Parmesan.
Cook as instructed and then leave to cool completely, before placing in a freezer safe container.
Defrost and then reheat thoroughly ensuring that the chicken is piping hot throughout.
Please note: If freezing, the breadcrumb will not be as crispy as when it was freshly made, but it still tastes wonderful!
Other Weight Watchers Chicken Recipes
If you like this Chicken Parmesan recipe, then you may also like these Weight Watcher chicken recipes
This Easy Chicken and Dumplings is 7 Smart Points per portion and is a perfect comfort food recipe.
Another of my favourites, this Creamy Chicken Casserole is just 6 Smart Points per generous portion and can be served with butternut squash mash for a filling and low point dinner.
If you are looking for something even lower in Smart Points, this Chicken, Leek and Mushroom Pie is just 4 Smart Points per portion! Result!
Lastly, these Zero Point Chicken Fajitas are very popular and are so easy and simple to make!

Chicken Parmesan | Weight Watchers
This delicious Chicken Parmesan is just 6 Smart Points on Weight Watchers Blue, Purple & Freestyle plan. It's 9 SmartPoints on the Green plan. A succulent bread chicken breast topped with cheese served on a rich marinara sauce.
Prep Time 20 mins
Cook Time 25 mins
Additional Time 15 mins
Total Time 1 hr
Course dinner
Cuisine American
Servings 2 portions
Calories 364 kcal
- 2 small chicken breasts boneless & skinless
- 1 egg whisked
- ½ tbs plain / all purpose flour
- 4 tbs fresh breadcrumbs (40g)
- Salt & pepper
- 2 tbs grated parmesan cheese
- 2 tsp olive oil
- 1 cup marinara sauce (225g)
- 2 light mini babybel cheeses or 45g light mozzarella
- Basil optional
-
Preheat the oven to 230°C / 210°C Fan / 450°F
-
Place the chicken breasts in a freezer bag and use a meat tenderiser or rolling pin to pound them to approx ½ inch thick.
-
Sprinkle the flour on a plate and season with some salt and pepper. On another plate, mix one tablespoon of grated parmesan with the breadcrumbs. Finally, whisk the egg in a shallow bowl.
-
Remove the chicken breasts from the freezer bag and roll them in the flour until all sides are covered.
-
Dip the floured chicken breast into the whisked egg & then roll in the breadcrumb/parmesan mix until the whole breast is covered in breadcrumbs.
-
Place the breaded chicken breasts on a plate and set aside for 10 - 15 minutes.
-
Spoon most of the marinara sauce into a small casserole dish (holding back 2 - 3 tablespoons) and set aside.
-
Heat the oil in a good quality non stick frying pan/ skillet over a medium heat. Carefully place the chicken breasts in the frying pan and cook for about 2 minutes either side until both sides turn a light golden brown. The chicken will be cooked fully in the oven later - this step is just about sealing the chicken so that it remains succulent when it is placed in the oven & crisping up the breadcrumbs!
-
Place the chicken breasts on top of the marinara sauce, and divide the remaining sauce over the top of the two chicken breasts.
-
Halve the mini babybel cheeses before placing on top of the chicken. Sprinkle with the remaining parmesan cheese.
-
Bake in the preheated oven until the chicken has cooked right through, is no longer pink in the middle and the cheese has melted and browned (15 - 20 minutes).
- If you use shop brought marinara sauce it may change the Smart Point value of this dish.
Nutrition Facts
Chicken Parmesan | Weight Watchers
Amount per Serving
% Daily Value*
* Percent Daily Values are based on a 2000 calorie diet.
Keyword Weight Watchers Chicken Parmesan, weight watchers chicken recipes, Weight watchers dinner recipes, Weight Watchers recipes with Smart Points
Chicken Parmesan Weight Watchers Smart Points
Source: https://pointedkitchen.com/chicken-parmesan-weight-watchers/


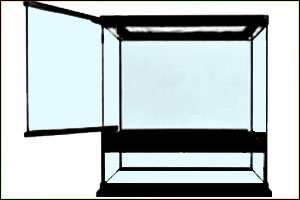

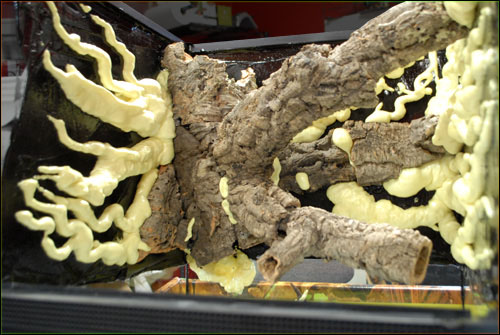
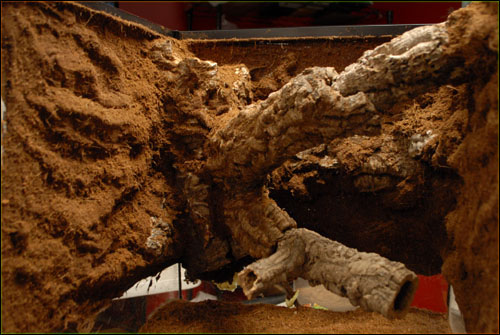 This is the most difficult step of the project, and it will require appropriate preparation for the best result. For this reason, it's critical to ensure you have everything ready to go before you begin to apply silicone. We've always urged clients to mix their own background texture substrate for the best aesthetic result. A mixture of fine-grade coconut fiber, medium-grade coconut fiber, and peat moss is an excellent choice. Since our article first went live back in 2010, we've developed our own proven Custom Background Texture Substrate that's specifically mixed for this purpose, and can provide more dimension & a better visual effect than coconut fiber would alone. Once your background mix is prepared, apply a new layer of silicone over all of the exposed existing silicone and polyurethane foam. Be sure to completely cover the foam and if you have to, add a little extra onto the edges touching your decor add-ins to be sure they look appropriately blended in. (It can easily be trimmed later if you use too much.) The silicone should completely cover all of the foam and original black silicone, and should not be applied thicker than 1/8". Here's the tricky part... After applying the silicone, there is only a 7-10 minute window to apply the background mix before the silicone begins to get tacky. Once silicone "tacks up" and begins to cure, the background mix will not stick, so it's imperative to work quickly. Working in a highly humid, warm location will help to extend the time before silicone cures, and working without fans blowing on the project will also help give you the most time possible. It can be a pain to go back and correct errors, and difficult to make corrections look perfect, so it's often best to practice before proceeding. After the silicone layer is applied, pour a bunch (more than you'll use) of the background substrate mix onto the silicone and gently, evenly press it into place. Be sure to remember where all the small details and crevices are! Allow your terrarium to sit background side face up with the Background Mix pile still on top of the drying silicone for at least an hour. (Overnight is ideal) If you've applied silicone & background texture mix to the sides & background simultaneously, don't try and remove the remaining pile(s). Waiting awhile will ensure that the silicone can hold on to as much of the texture mix as it can. Once you are confident it's mostly cured, the enclosure can be placed face-up and the texture can be gently removed. Paintbrushes work great, but gently blowing it down works well too. Once cleaned up, it should look something like the inset photo.
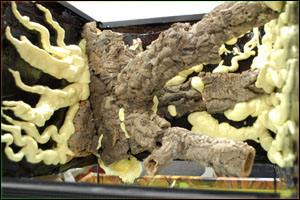
 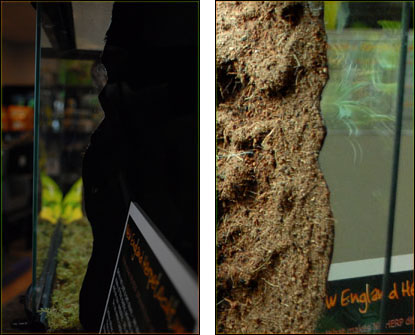 At this point, we have what looks like the beginnings of a nice custom background, although the edges & Background Mix coating may not quite be perfect yet. From here, any missed spots with bare foam or silicone showing can be carefully touched up with a thin layer of silicone & Background Mix. As always, try to limit the silicone application thickness to 1/8" or less, to ensure it can cure quickly & completely. If any pointed edges of foam are sticking out past the silicone, they may be difficult to cover up effectively. In this case, carefully removing the edge using a crafting knife or razor will allow for a nice, flat surface. At that point, a repair of silicone + more Custom Background Mix is an easy task. Any portions of wood decor that were unintentionally covered by foam or silicone can usually be scraped & trimmed back without much effort. It's nice to avoid this step, but that's often easier said than done.
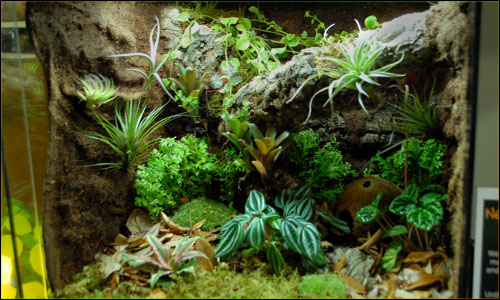
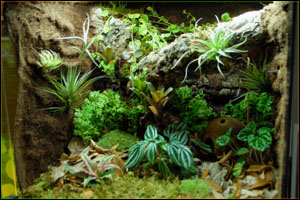
 That's it! Once the custom background is completely cured, it's ready for planting & seeding! For comprehensive, step-by-step instructions on how to build a long lasting live vivarium, check out our Vivarium Construction 101 article.